Engine Arrival & Gas Spring Redux
Engine has arrived!!
Engine Arrival
My original plan for this project was to convert an automotive engine to use in an aircraft. My intent was to use the time needed to develop the engine while saving up the money for a Velocity kit. When I found this aircraft available for such a low price, the calculus changed. Instead of building an engine from scratch, I decided to source an aircraft engine.
But aircraft engines are prohibitively expensive. A new Lycoming IO-360 will cost over $100k, a 0 time rebuild will be over $68k, and a run out engine with prop strike is still $20k. When I found an old Continental IO-360 in a salvage yard for much less, I jumped at the chance.
I talked with the factory and although Continentals are not normally put in Velocities, they confirmed it would have no problem fitting in the space. In fact, it should run smoother since the Continental has 6 cylinders to Lycoming's 4. After back and forth with the salvage yard, they agree to let the engine on the Cessna 336 they have go for only $3k. The catch is that there are no log books and no guarantees. In my mind, for that low of a price, I'm willing to take the risk. I've presumed that any engine I get will need to be rebuilt, so I only need a reasonably solid core.
I have only good things to say about Arizona Aircraft Salvage. They were communicative, they shipped when they said they would, and my engine arrived well packaged. They were also able to include the engine mount to adapt to the Velocity.
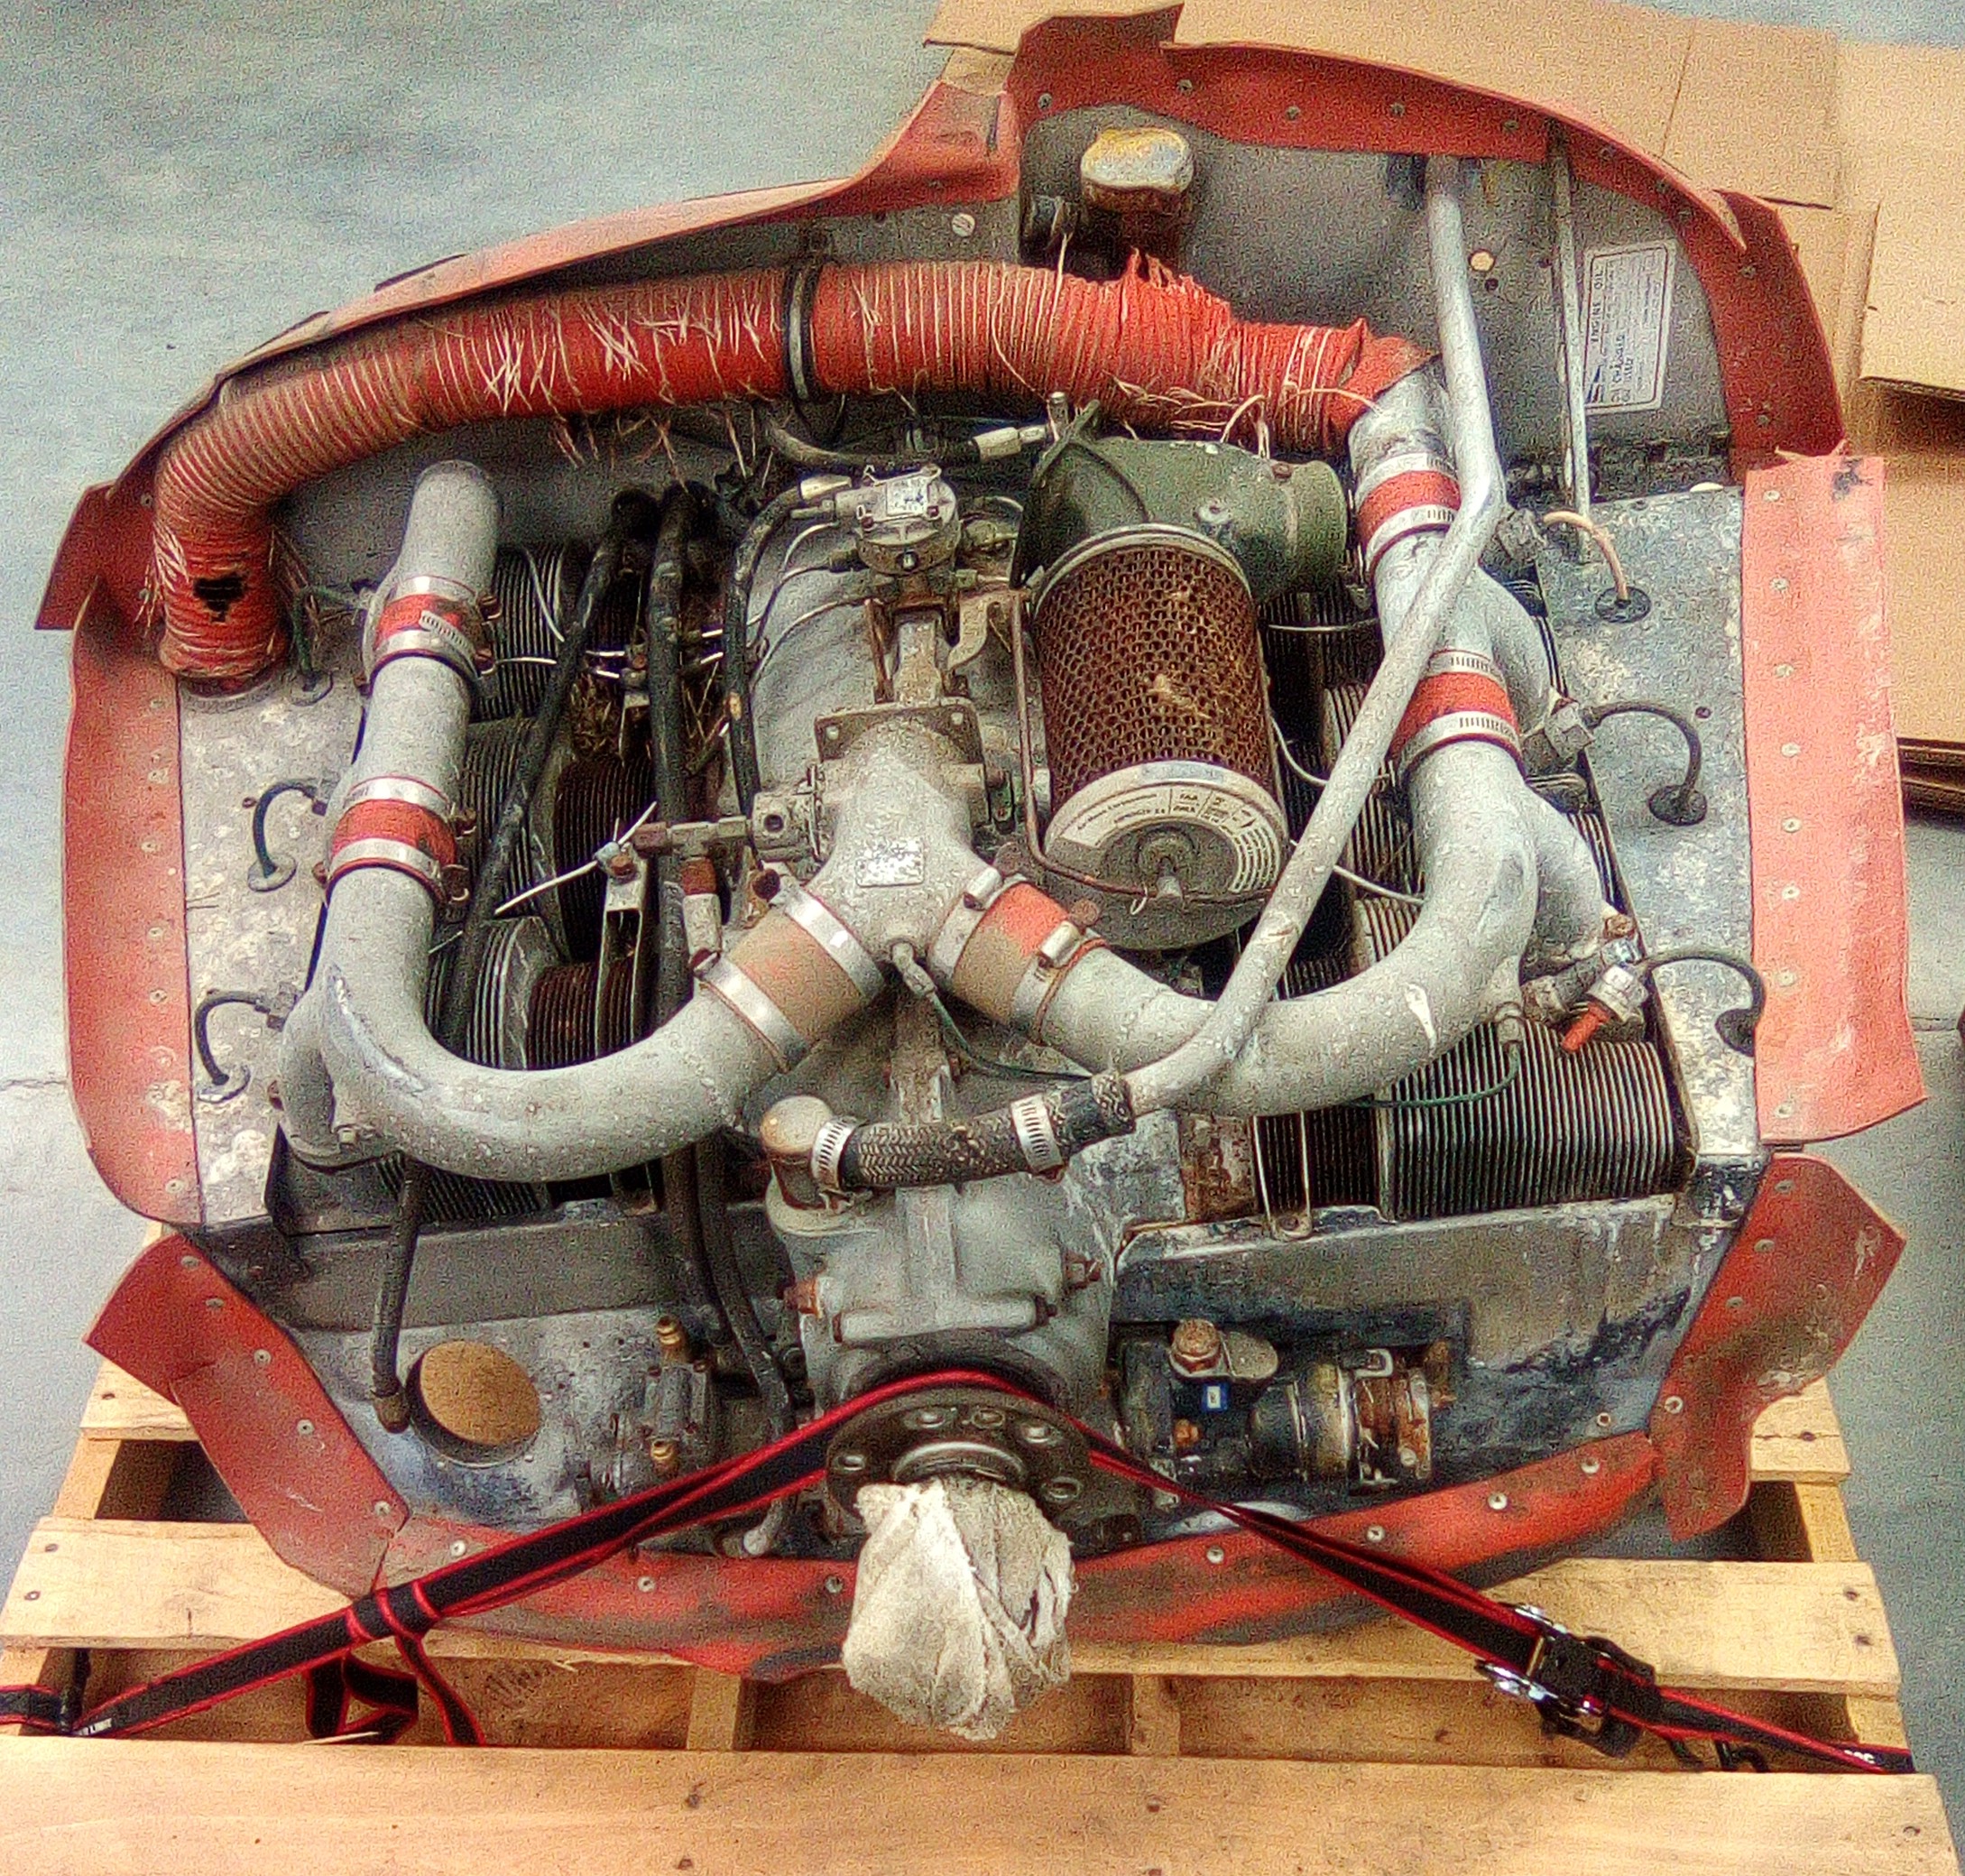
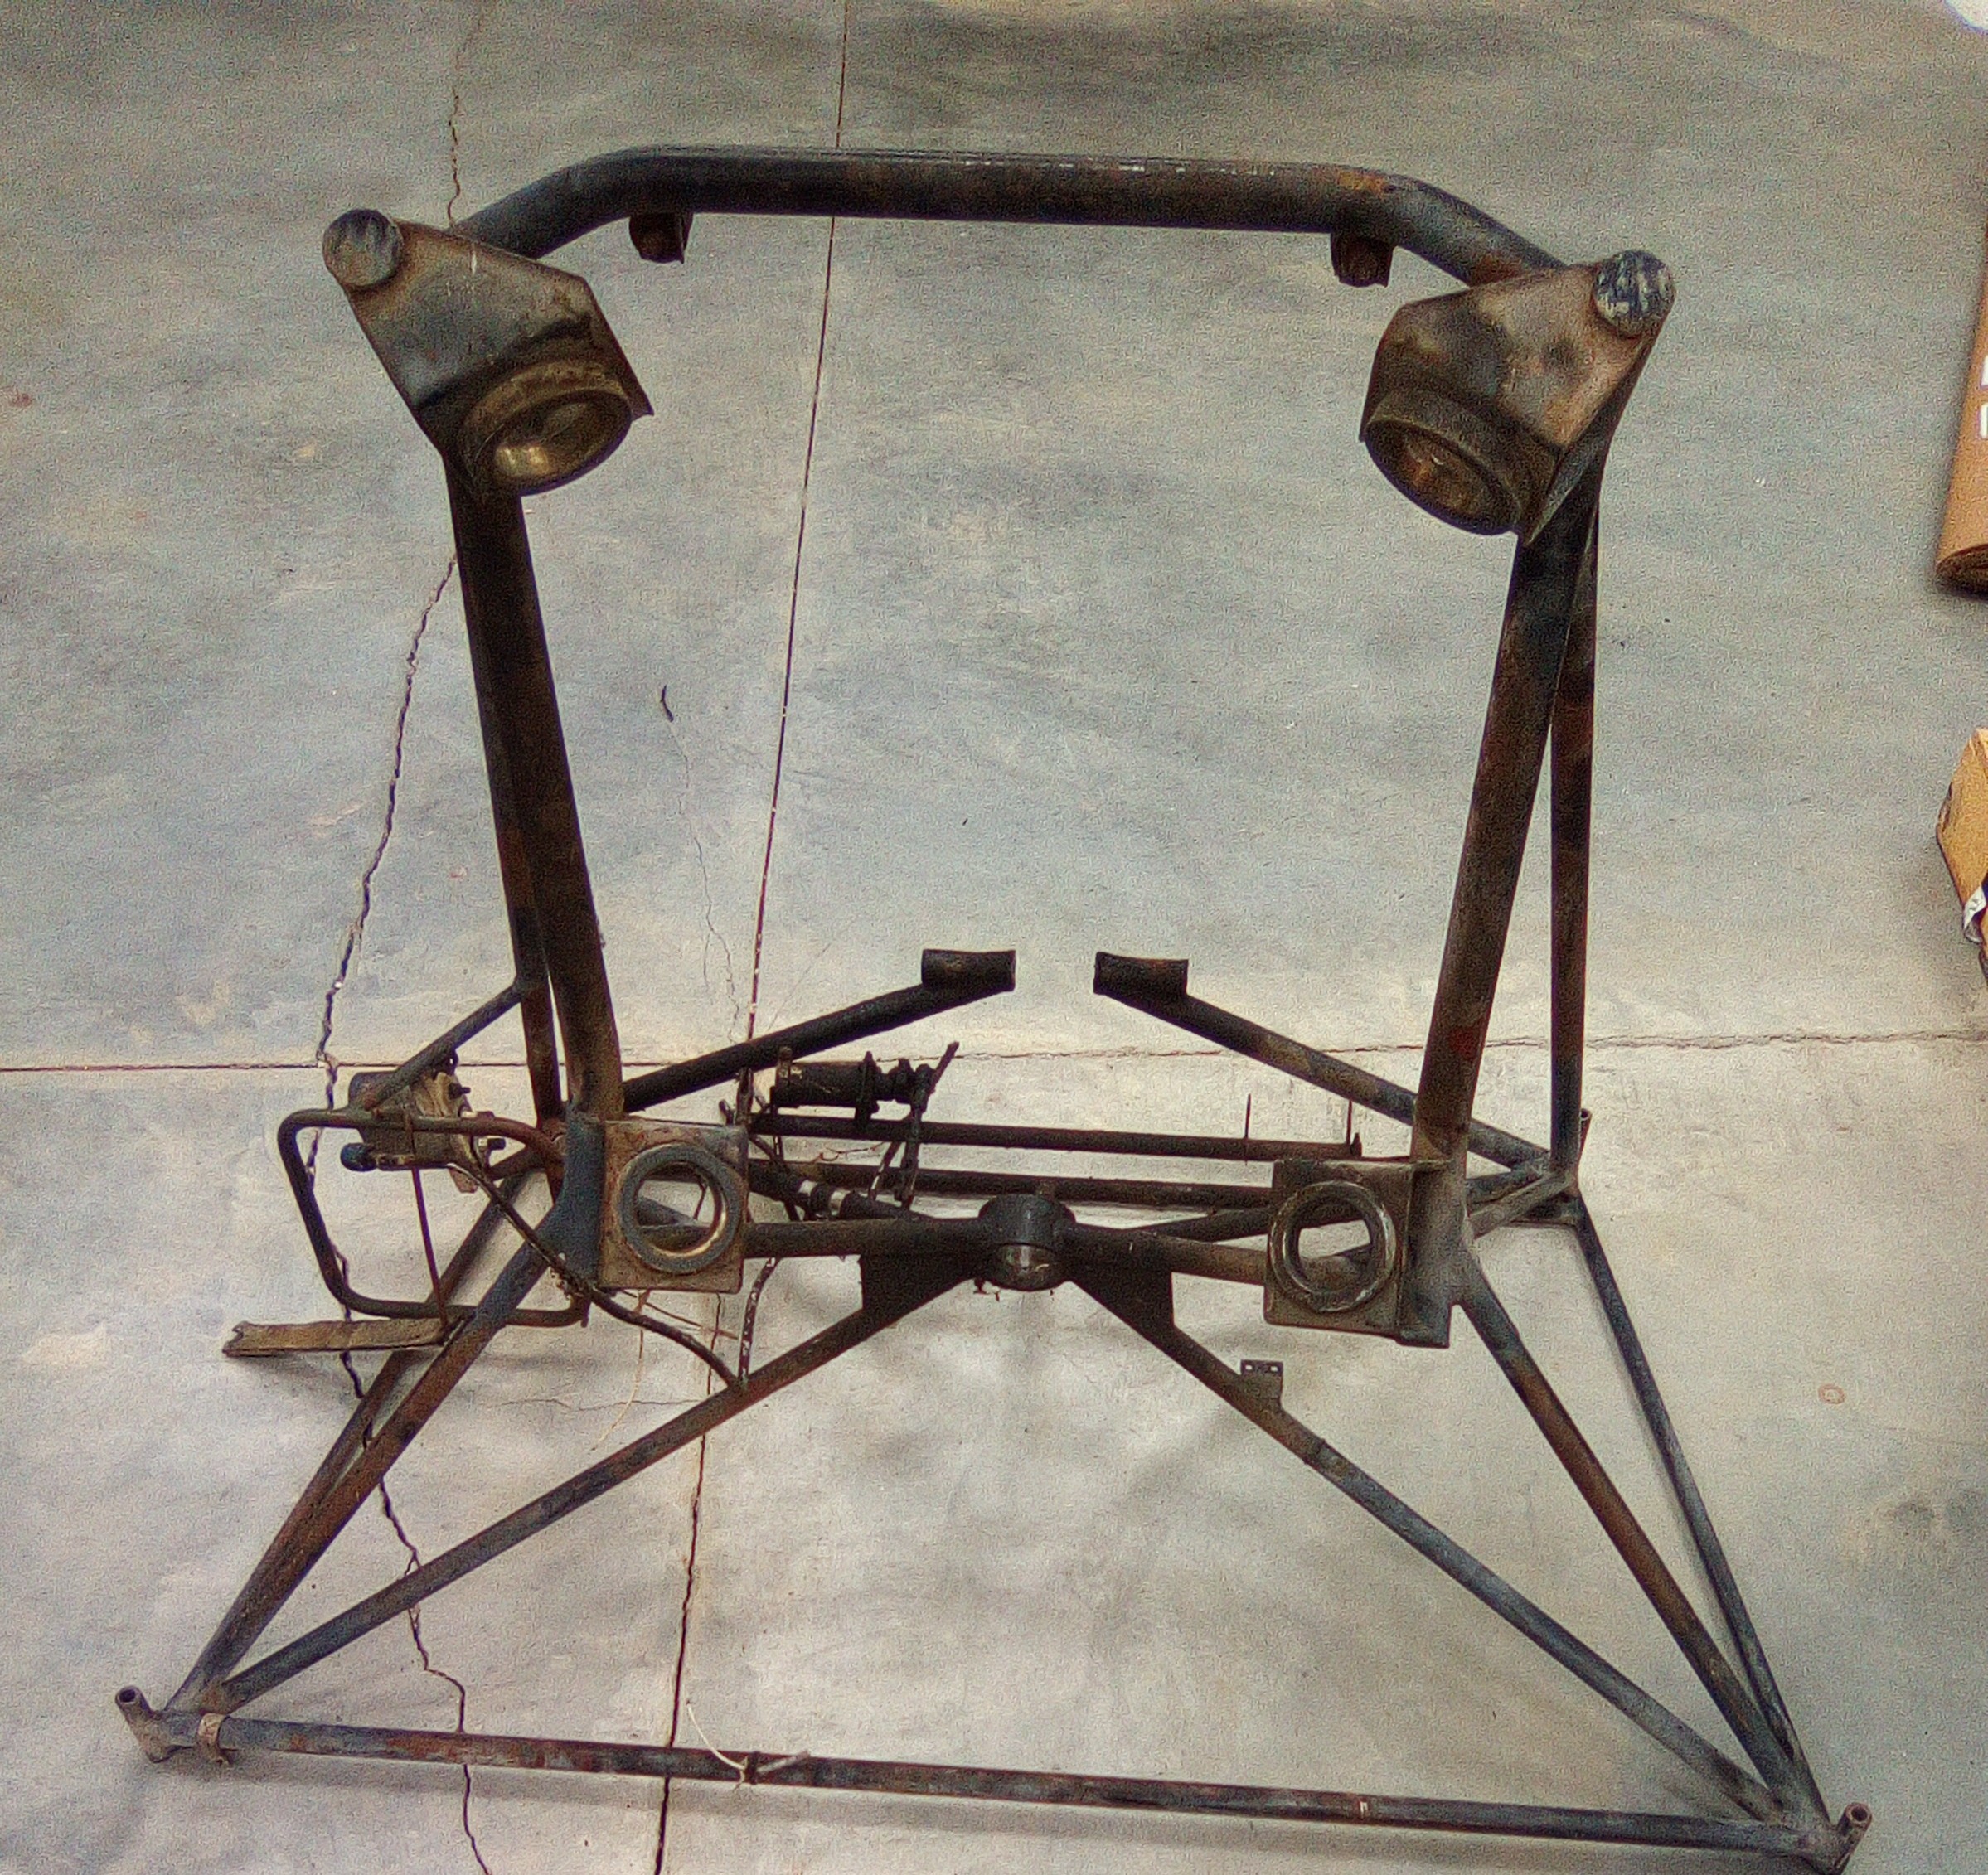
Now that it isn't in the dry desert air, I need to figure out how to preserve whatever may be good on it. I'll need to tear it down and inspect the crankshaft and camshafts along with a great many other items. Purchasing the Continental overhaul manual will be a must.
Gas Spring Finalize
I realized after looking at the image used in my last blog post that the nose gear gas spring had been installed upside down. That was because the last one was installed upside down and I had reinstalled in the same orientation. While this issue probably doesn't matter, it is a reminder that I need to not trust the current state of things in any particular part of the aircraft. I should verify the construction methods in general.
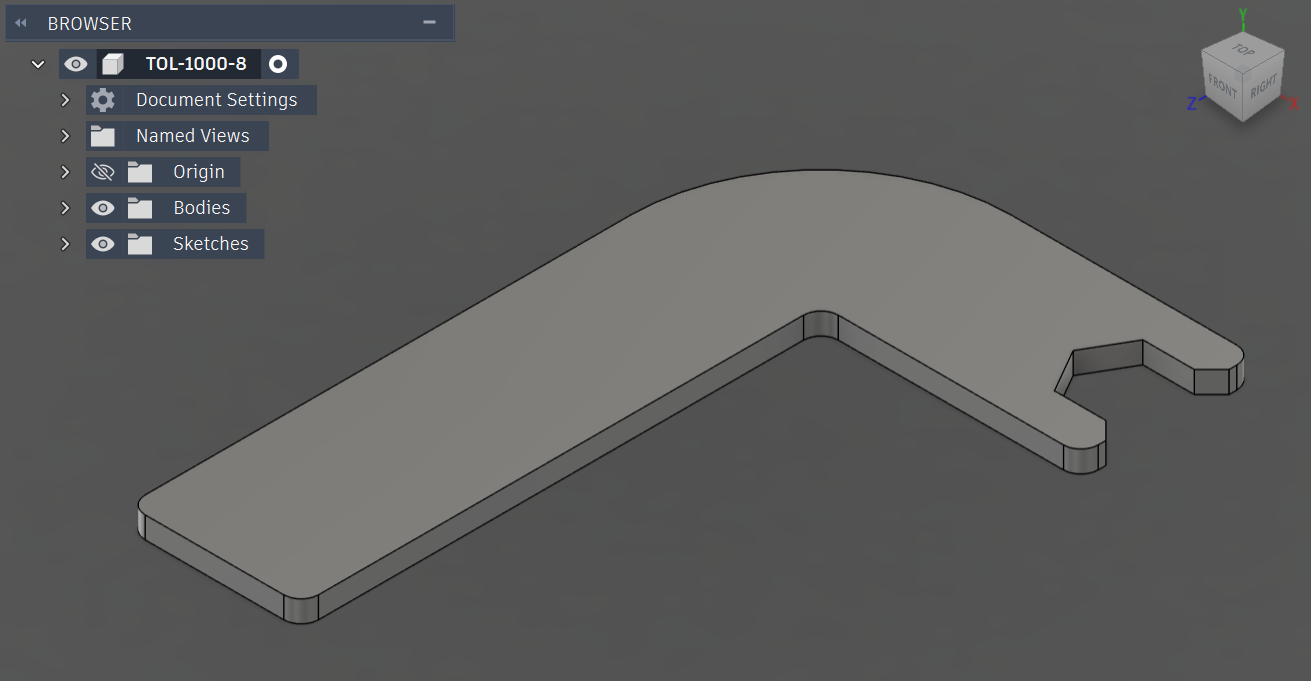
I also didn't have it tightened all the way because my wrench was too wide to fit between the spring the ball/socket connection. To solve that problem, I designed a simple tool - - to reach in and around to tighten properly. It was a chance to use my new part number system and it worked pretty well. I have some notes on improvements for a Revision B.
Using the new tool, I managed to get the gas spring flipped around into the factory recommended orientation and tightened properly.
Hatch Removal
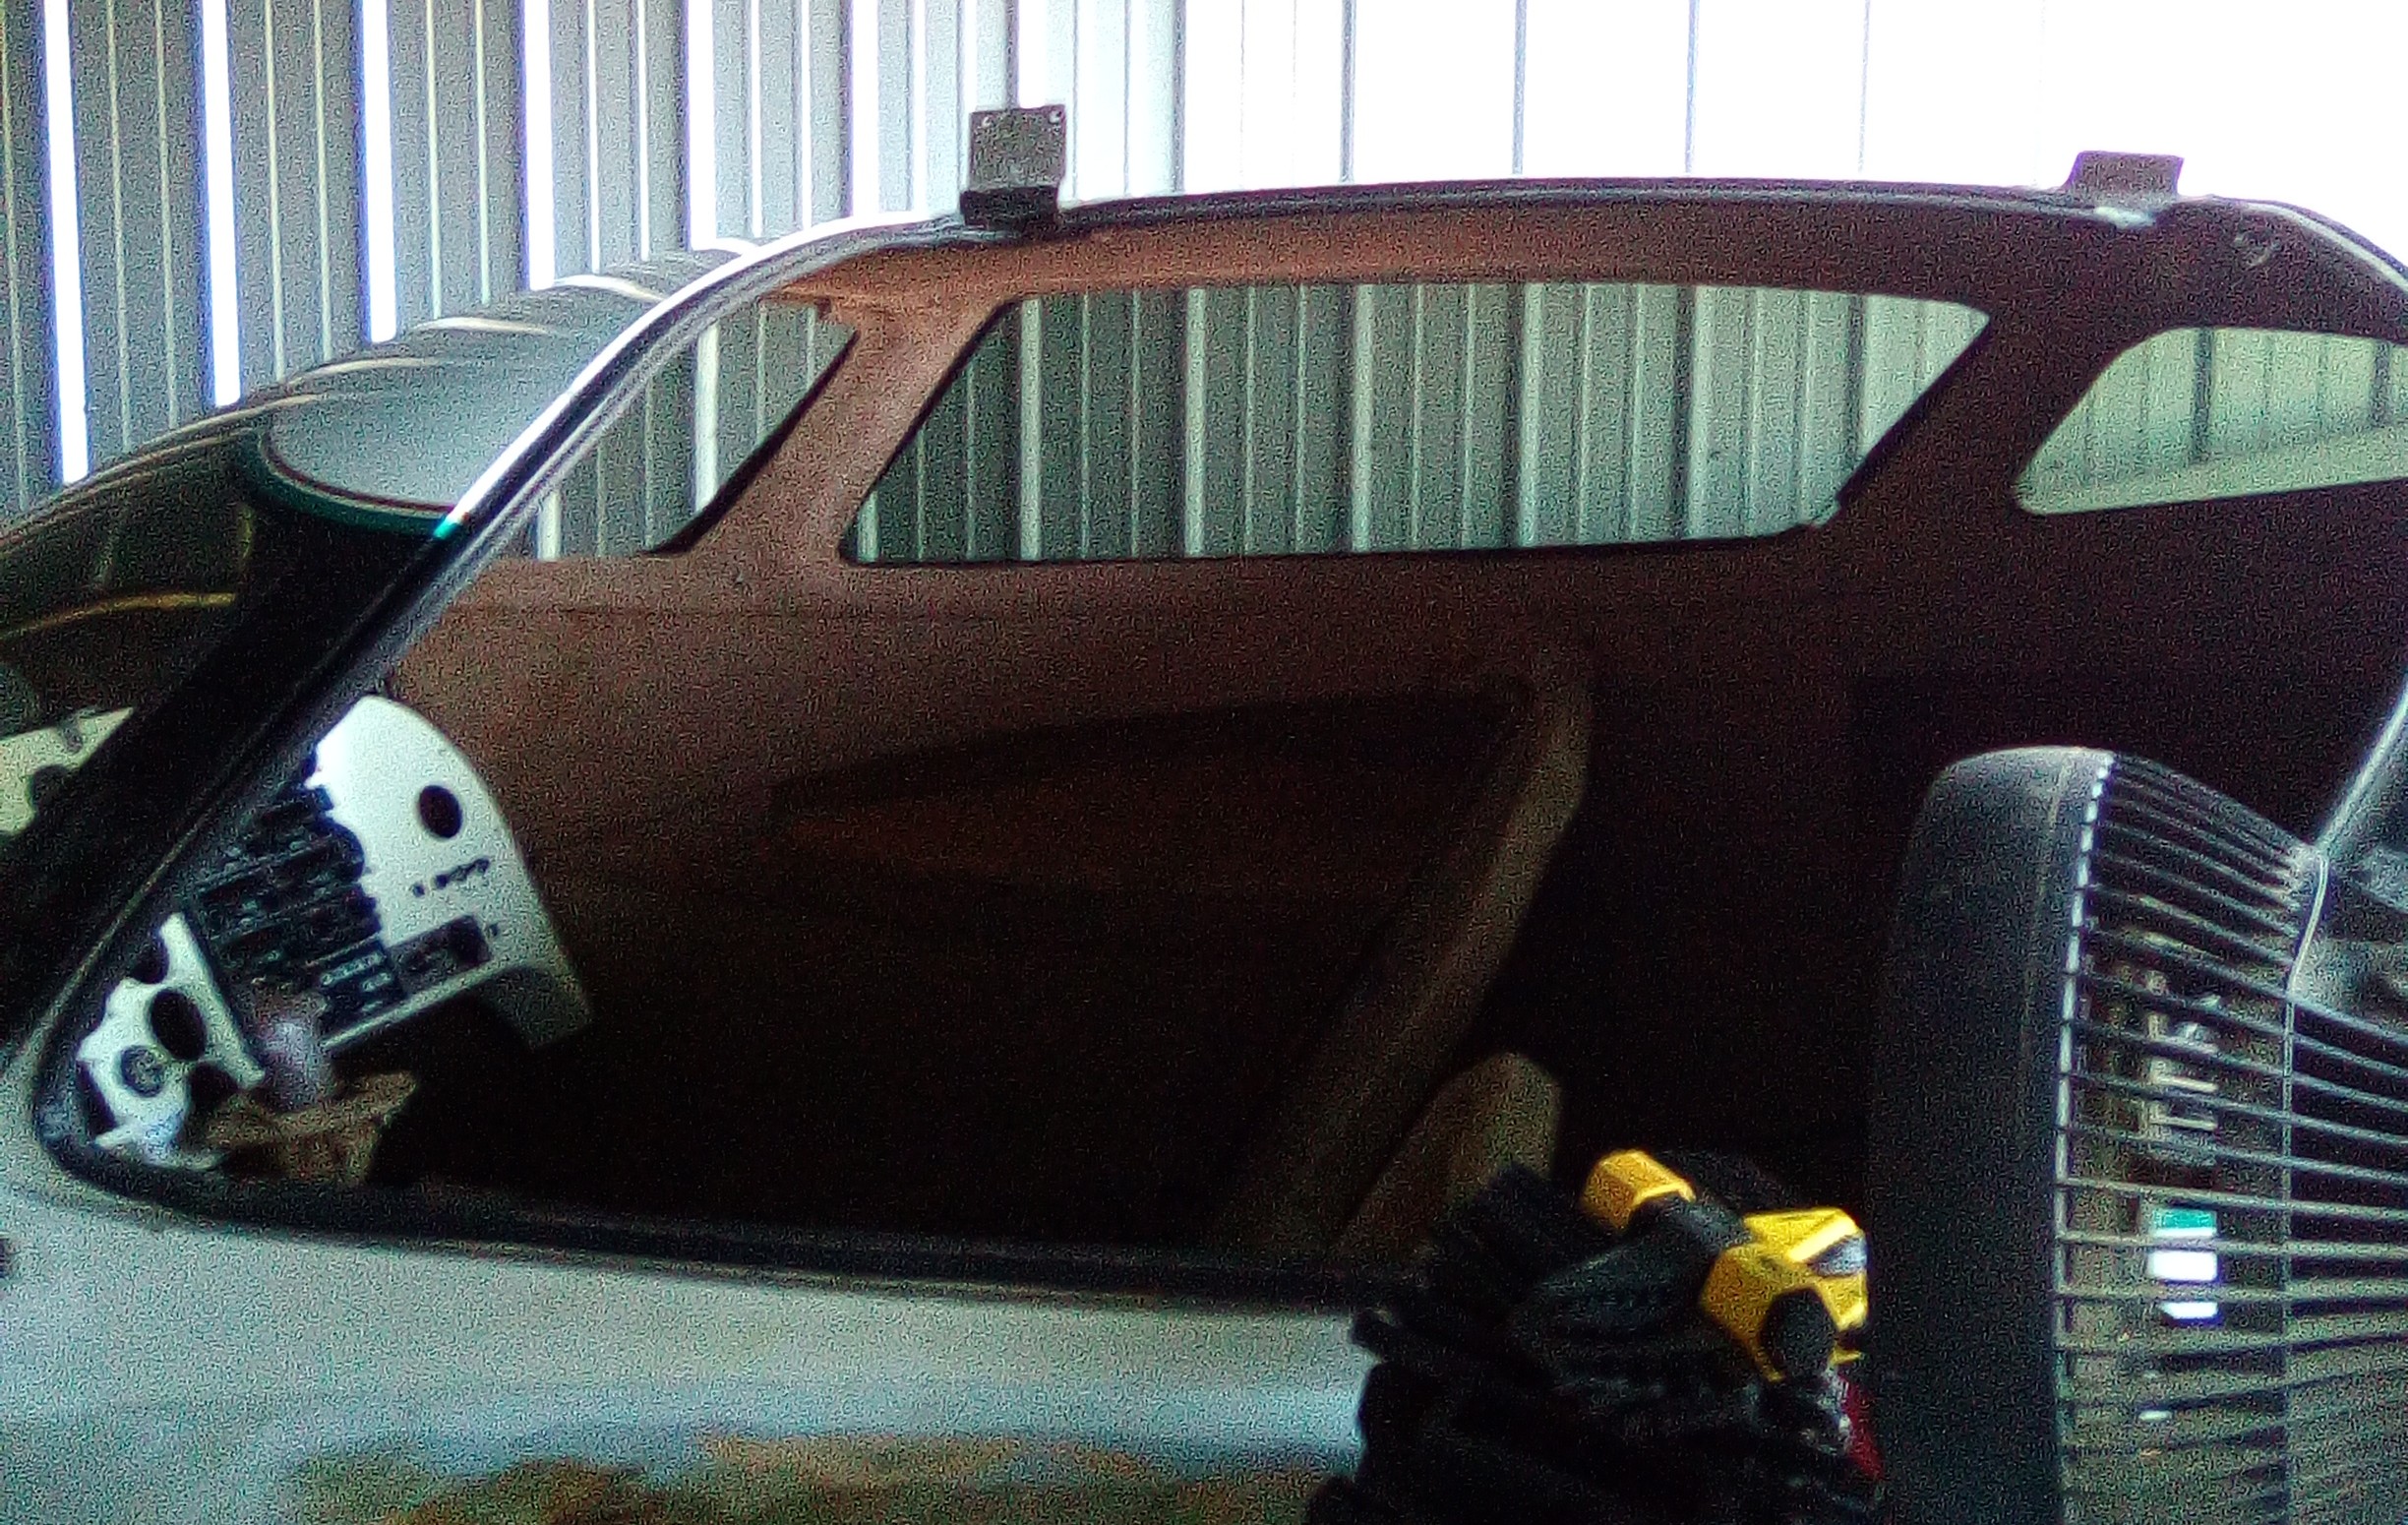
Finally for the day - I've found it a great hassle to work around the hatch since the gas spring holding it up is shot after traveling from Nebraska. I decided to just take it off for the time being. I'll need some plastic baggies to keep track of the parts, but several of the bolts in the hinge mount were too long. I'll plan on replacing those.
Next Steps
With the nose gear unlikely to collapse, it's time to start seriously working on the aircraft. I'd like to flip the fuselage around to make it easier to get in and out of the storage unit. The workbench will have to change sides of the storage unit as well. I also need to develop a plan for going through aircraft systems and then start working the plan. Starting to tear down and inspect the engine is also on the docket.